Learning how to clean water softener systems is an integral part of home maintenance that every homeowner should know.
Unfortunately, it is common to forget about your water softener, especially as it readily offers top-quality water when needed.
Without regular maintenance, plenty of issues could arise.
Before we list the steps to cleaning water softener systems, let’s talk about how to tell if it’s time for a cleaning.
It’s much easier than you’d think and doesn’t need to be done as often as expected.
How To Clean Water Softener: Piece by Piece
To help make your maintenance plan simpler, we will go over the cleaning steps for the most important parts of your system piece by piece.
Fortunately, there aren’t too many parts to your water softener that need to be maintained.
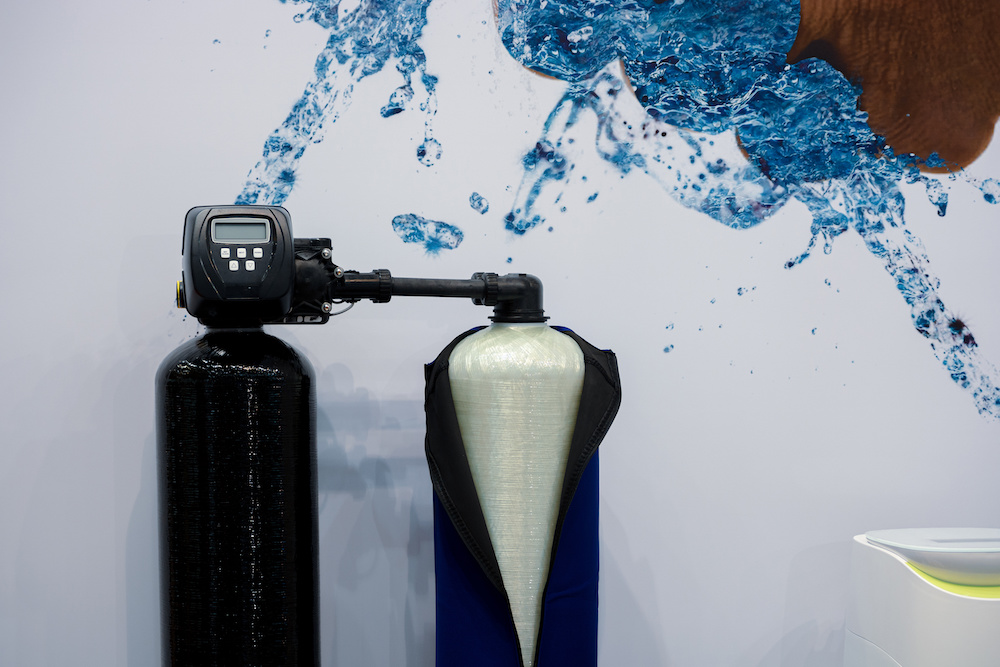
Water Softener Brine Tank
A water softener system has two tanks: a resin tank and a brine tank.
The resin tank performs the water softening process by removing the hardness ions from the water.
However, it requires the support of a brine tank to regenerate the resin beads with fresh sodium ions.
The good news is that a water softener brine tank is easy to clean. Here are the steps:
Step 1: Wait for Low Salt Level
The first thing to note when cleaning the brine tank of your water softener is to make sure the salt level is low.
This will make the brine tank easier to lift and can also reduce the cleaning time.
Wait for the salt level to decrease before you clean the resin tank. This way, you can minimize the amount of wasted salt pellets.
Step 2: Shut Off Your Water
Once you are satisfied that the remaining salt in your brine tank is low enough for cleaning, it’s time to turn off the water.
Most water softener models have a bypass valve you can use to cut water to the appliance.
As the name implies, this valve will allow you to “bypass” the water softening system and redirect the flow of water directly to your home.
After doing that, you can simply turn off the bypass valve so that water can flow into your water softener again.
Step 3: Drain the Brine Tank
Draining your water softener requires you to remove all traces of water and get rid of any salt and minerals stuck at the bottom.
For this job, we highly recommend using a wet vacuum to make it much simpler to remove any excess salt.
You can also use a scoop to get rid of the extra water after removing the brine well and grid plate from the bottom of the brine tank.
After thoroughly draining it, remove the brine tank and detach it from the water supply. You can remove the remaining brine solution by dumping it down a drain.
Another option is to go through a regeneration cycle, which will empty most of the brine tank for you.
Step 4: Washing the Tank
Cleaning your brine tank will be much simpler with it detached from the rest of the unit, especially if you want to clean it outside.
It can be a good idea to take it into your backyard and use a garden hose to get rid of hard-stuck salt or brine.
Also, it is a safe way to remove salt bridges and other contaminants without scraping and damaging the inside of the tank.
If you find there are still salt bridges left behind in the water softener, you might need to do some scrubbing.
Use a non-abrasive sponge for this job and some mild dish detergent.
If you find other contaminants, such as mold, make sure you use a natural food-safe mold remover.
Step 5: Refill the Tank
You’ll notice that the condition of your brine tanks has already improved at this point, especially in terms of cleanliness.
Now, it’s time to rinse and refill the tank on your water softener unit.
You can use your garden hose to eliminate any salt sludge or suds left behind from cleaning.
You will also want to give the unit some time to dry, either outside or using a towel to speed up the process.
Once dry, reinstall the brine tank and grab your salt refill, ensuring the salt reaches the maximum fill line.
This is a good time to turn the bypass valve off and turn the valve to the water softener system back on. Doing so will allow the flow of your water to return to normal.
Step 6: Do a Manual Regeneration Cycle
The last step to ensure your brine tank is good to go is to do a manual regeneration cycle overnight.
This final step makes sure you have thoroughly cleaned your tank while removing any harsh chemicals (like bleach water) left behind.

Water Softener Resin Tank
A dirty resin tank can turn your clean, delicious drinking water into an iron-tasting brown-looking bucket of liquid.
That said, the steps for cleaning are relatively simple.
For this job, you will want to ensure the system’s salt is running low. This helps ensure you don’t have to get rid of newly added salt, wasting money.
Also, cleaning it while it’s low is just simpler.
Step 1: Remove and Clean the Tank
The first step is to make sure you remove your water softener tank.
The best option for cleaning is to use a bleach solution, but ensure you’re using under 100 PPM of bleach.
Otherwise, you could cause irreversible damage to the materials of the resin bed.
Another reason to use as little bleach as possible is to preserve the resin beads while eliminating bacteria inside the tank.
If you destroy your soft water resin beads with a highly astringent cleaner, they will also need replacement.
Another option for cleaning the tanks of water softeners is to purchase a water softener cleaning solution.
These solutions are often found at home improvement stores and are already pre-mixed and safe for all your system’s components.
They also come with individual directions to follow, ensuring the water softener is thoroughly cleansed.
When shopping for a cleaner, pay special attention to its label.
Some are designed for specific-sized water softeners, while others target specific minerals, such as calcium or magnesium.
Step 2: Flush the Contaminants
Once you have cleaned out your water softener resin tank, reinstall it onto your unit.
Now is the time to flush any debris and contaminants, helping purify the inside of the tank.
To do this, flip the unit into a regeneration cycle with the control valve.
During the regeneration cycle, it will begin to flush out any grime trapped inside your tank and its tubing.
Ideally, you will want to do this twice, as it helps remove considerably more trace elements than a single flush.
If you find there is still too much buildup, complete the first and second steps a third time.
Step 3: Return to Normal Settings
After thoroughly cleaning your softener resin tank, it is time to return the unit to its original settings.
Using the control valve a second time, simply put the water softener on your desired settings.
You can also do a quick freshwater rinse to help get rid of any cleaning solution that could be left behind.
Removing Salt Bridges
Another issue you should definitely look into when cleaning your water softening system is salt bridge formation.
Essentially, salt bridges form when salt water is exposed to humidity. This increased level of moisture can cause the salts to bond together and form a hard, thick crust.
This can then hinder the salt from reaching the water and, thus, keep your tank from creating brine.
Water softener regeneration won’t be possible without brine. Hence, the formation of salt bridges can then render your unit ineffective.
Fortunately, there are a couple of ways to get rid of salt bridges.
- Using a Broom Handle
With the help of a broom handle, you can easily get rid of bridges made from rock salt and salt pellets.
You will want to tap at the bridge gently until it breaks, allowing you to remove pieces from the tank.
- Using Warm Water
If you find the salt bridges are particularly thick, warm water will quickly become your best friend.
With hot water, you can melt the salt bridge away, making it easier to remove with a broom or your hands.
- Using Specialized Cleaners
It’s easy to find salt bridge cleaners at most home improvement stores.
These cleaners help reduce mineral content while also increasing the softening capacity of hardened salts.
Although they are more expensive than warm water, they can be very helpful for clearing away salt bridges.
Water Softener Filter
The final piece of your water softener you should clean is the filter. Some models come with one, while others might not.
Using disposable filters can help maintain your water softener filter as well.
However, remember that they are specifically intended to be thrown away. It wouldn’t be wise to wash and reuse them as they can collect quite a few contaminants.
They’re very difficult to clean anyway. So, it would be more convenient to simply replace them as needed.
Cleaning a Water Softener Has Never Been Simpler!
Learning how to clean water softener is essential for proper maintenance.
By keeping the tips we shared in mind, we hope you’ll find maintenance easier to perform—from removing debris to getting rid of annoying salt bridges.
It is also the best way to keep your water softener in its best condition for longer.