Have you ever noticed mineral buildup around your faucets, dry skin after showering, or appliances breaking down due to hard water? Installing a water softener can be the solution to these problems. In this guide, we’ll walk you through the process of water softener installation, including understanding the need for a water softener, different types of systems available, and tips for maintaining your system. Say goodbye to hard water and hello to improved water quality and efficiency!
Key Takeaways
- Testing water hardness is essential to determine the need for a water softener.
- DIY and professional installation are both viable options, depending on costs, tools and warranties.
- Water softeners can improve home health by preventing mineral buildup in pipes & appliances, providing relief from skin dryness, improving taste of tap water & enhancing your overall quality of life.
Understanding the Need for a Water Softener
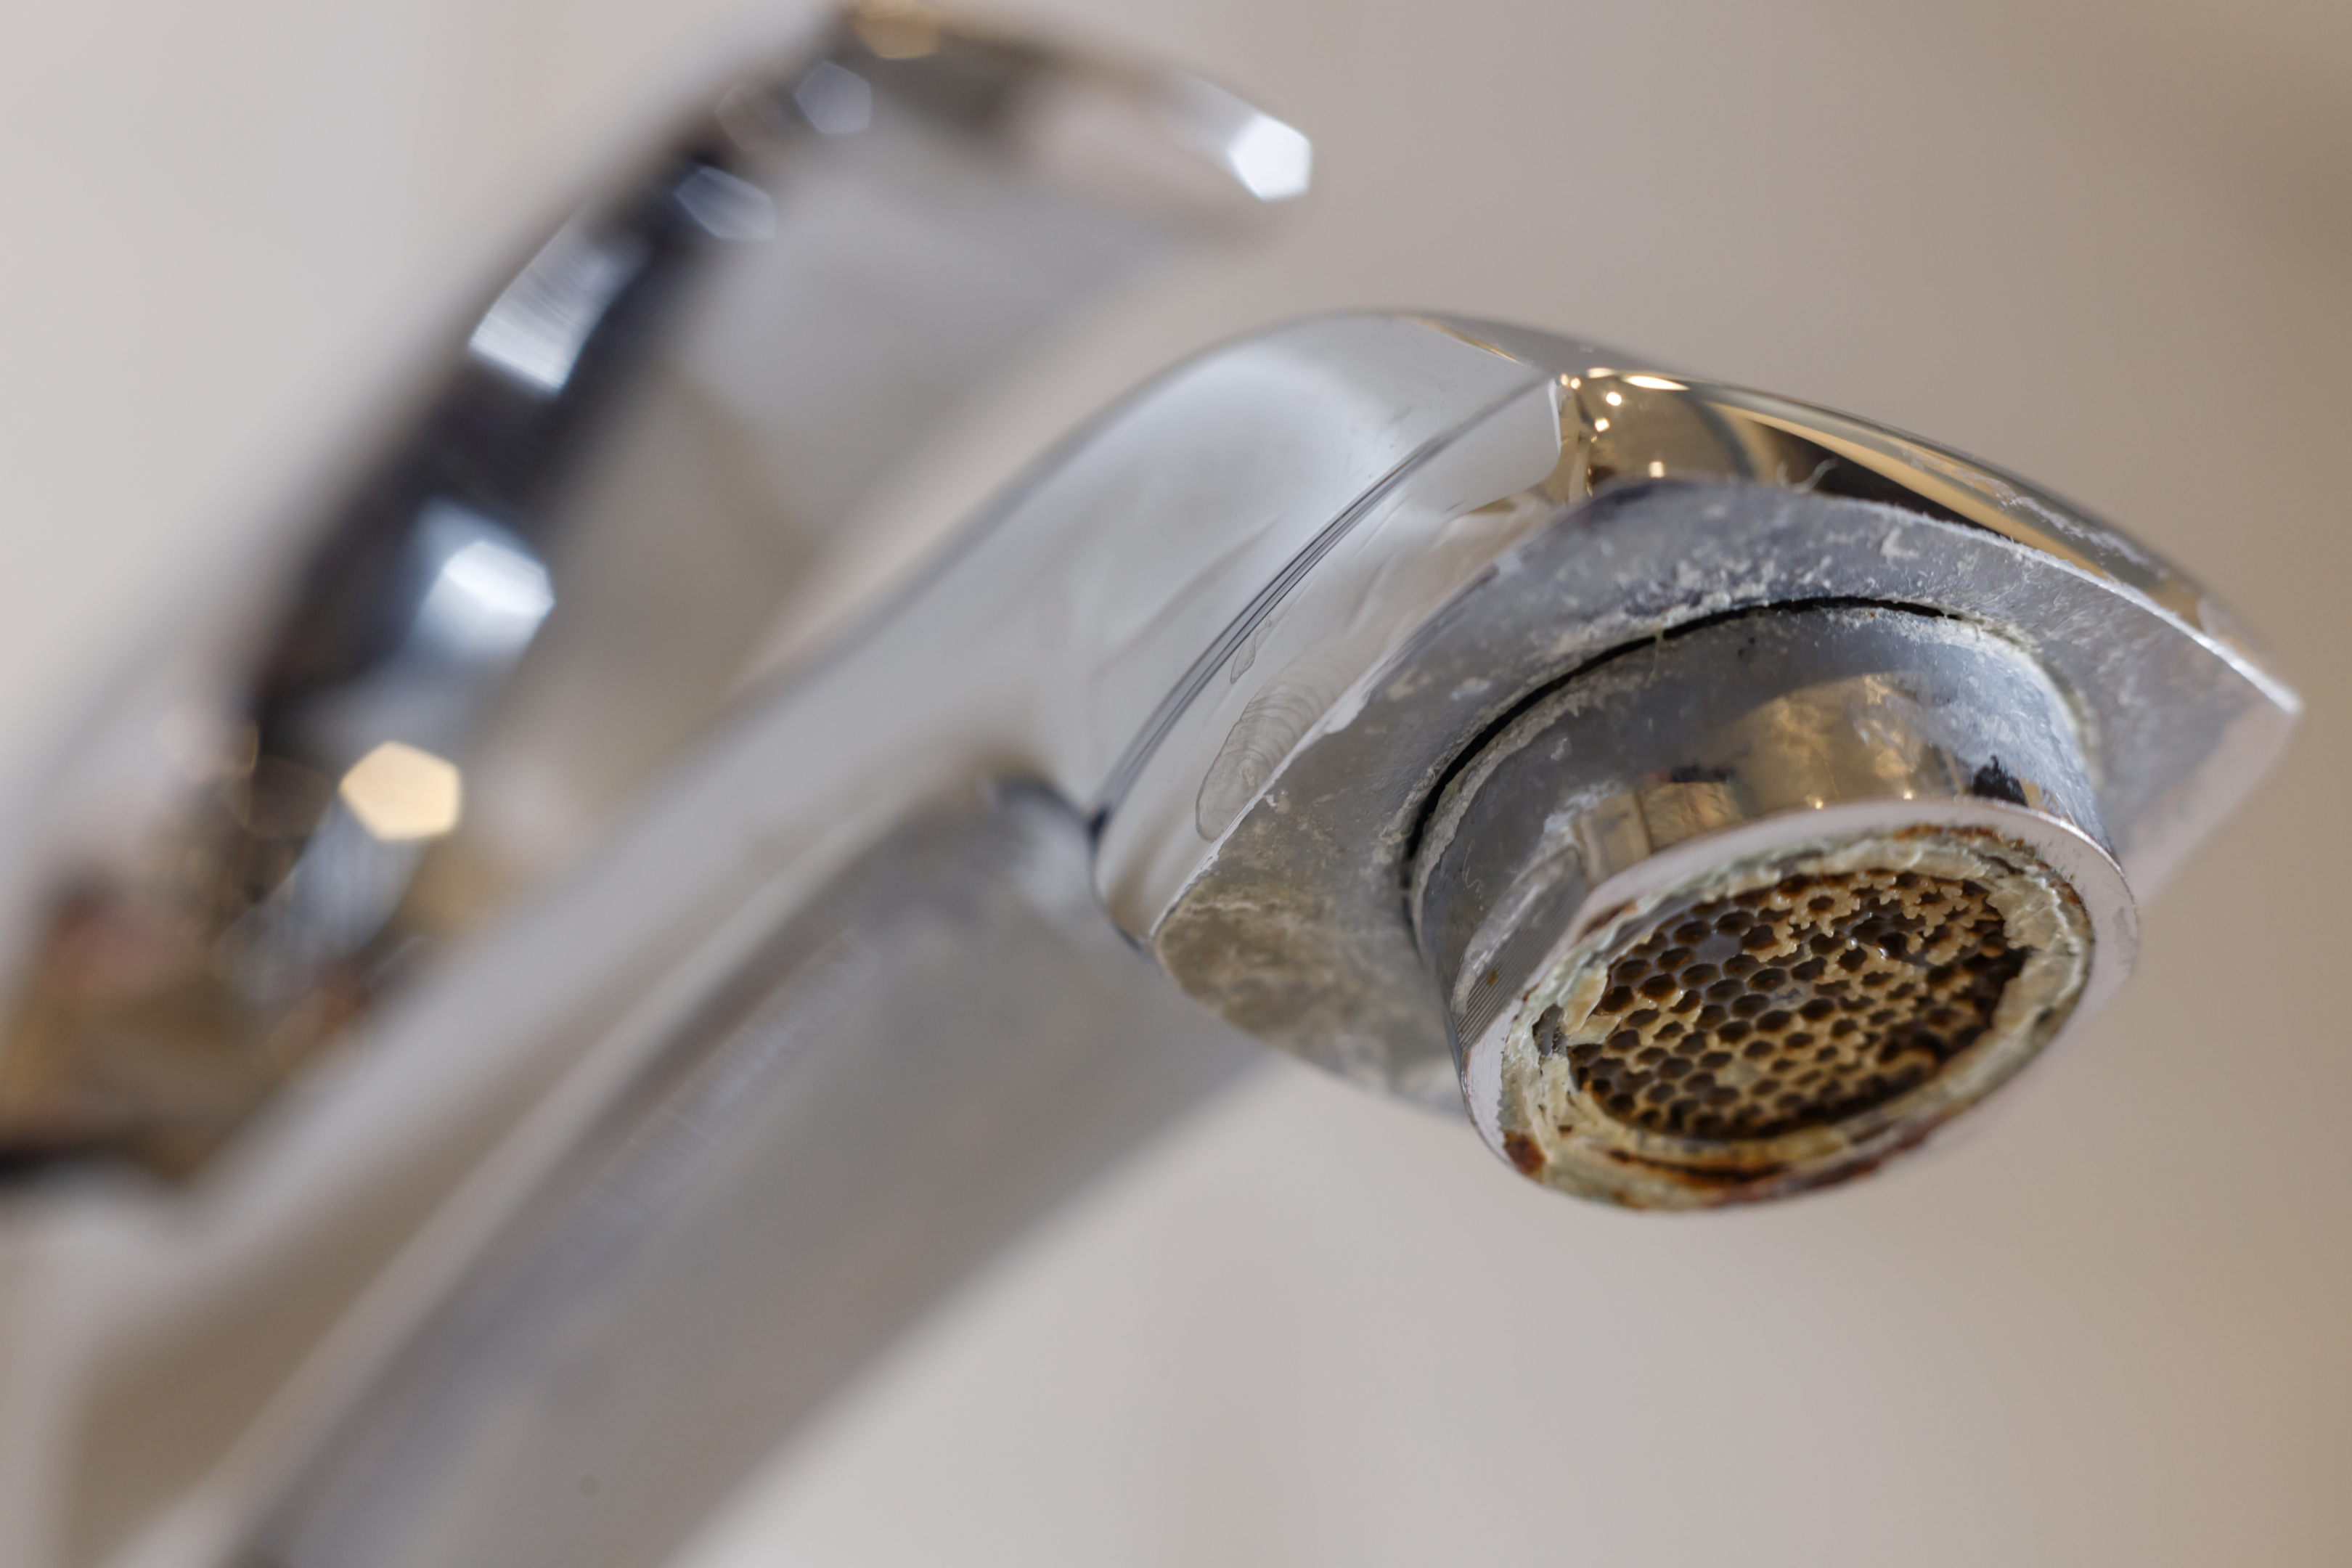
Hard water, which contains high levels of dissolved minerals like calcium and magnesium, affects the majority of households in the United States. It can cause persistent stains around drains, dull-looking laundry, and dry skin and hair. To combat these issues, water softeners are designed to remove these hard minerals, improving your water quality and protecting your home’s plumbing system.
But how does one determine the need for a water softener? A key step is testing the hardness levels of your water. If the hardness level exceeds 7 grams per gallon, softening is recommended to avoid mineral buildup and extend the lifespan of your water heater and other water using appliances.
Various water softener systems are available, including:
- Ion exchange systems
- Salt-free systems
- Reverse osmosis systems
- Magnetic systems
The water softener system cost, which includes water softener costs, will depend on the type and size of the system, ranging from $500 to $6,000.
Signs of Hard Water
Being aware of hard water symptoms can help determine the need for a water softener. Mineral deposits, discoloration, and skin dryness are common indicators of hard water.
A water softener can help prevent these issues by removing hard minerals from the water, resulting in softer water and reduced scale buildup in plumbing systems. This not only improves the water quality in your home but also prevents long-term plumbing problems and enhances the efficiency of water-using appliances.
Testing Water Hardness
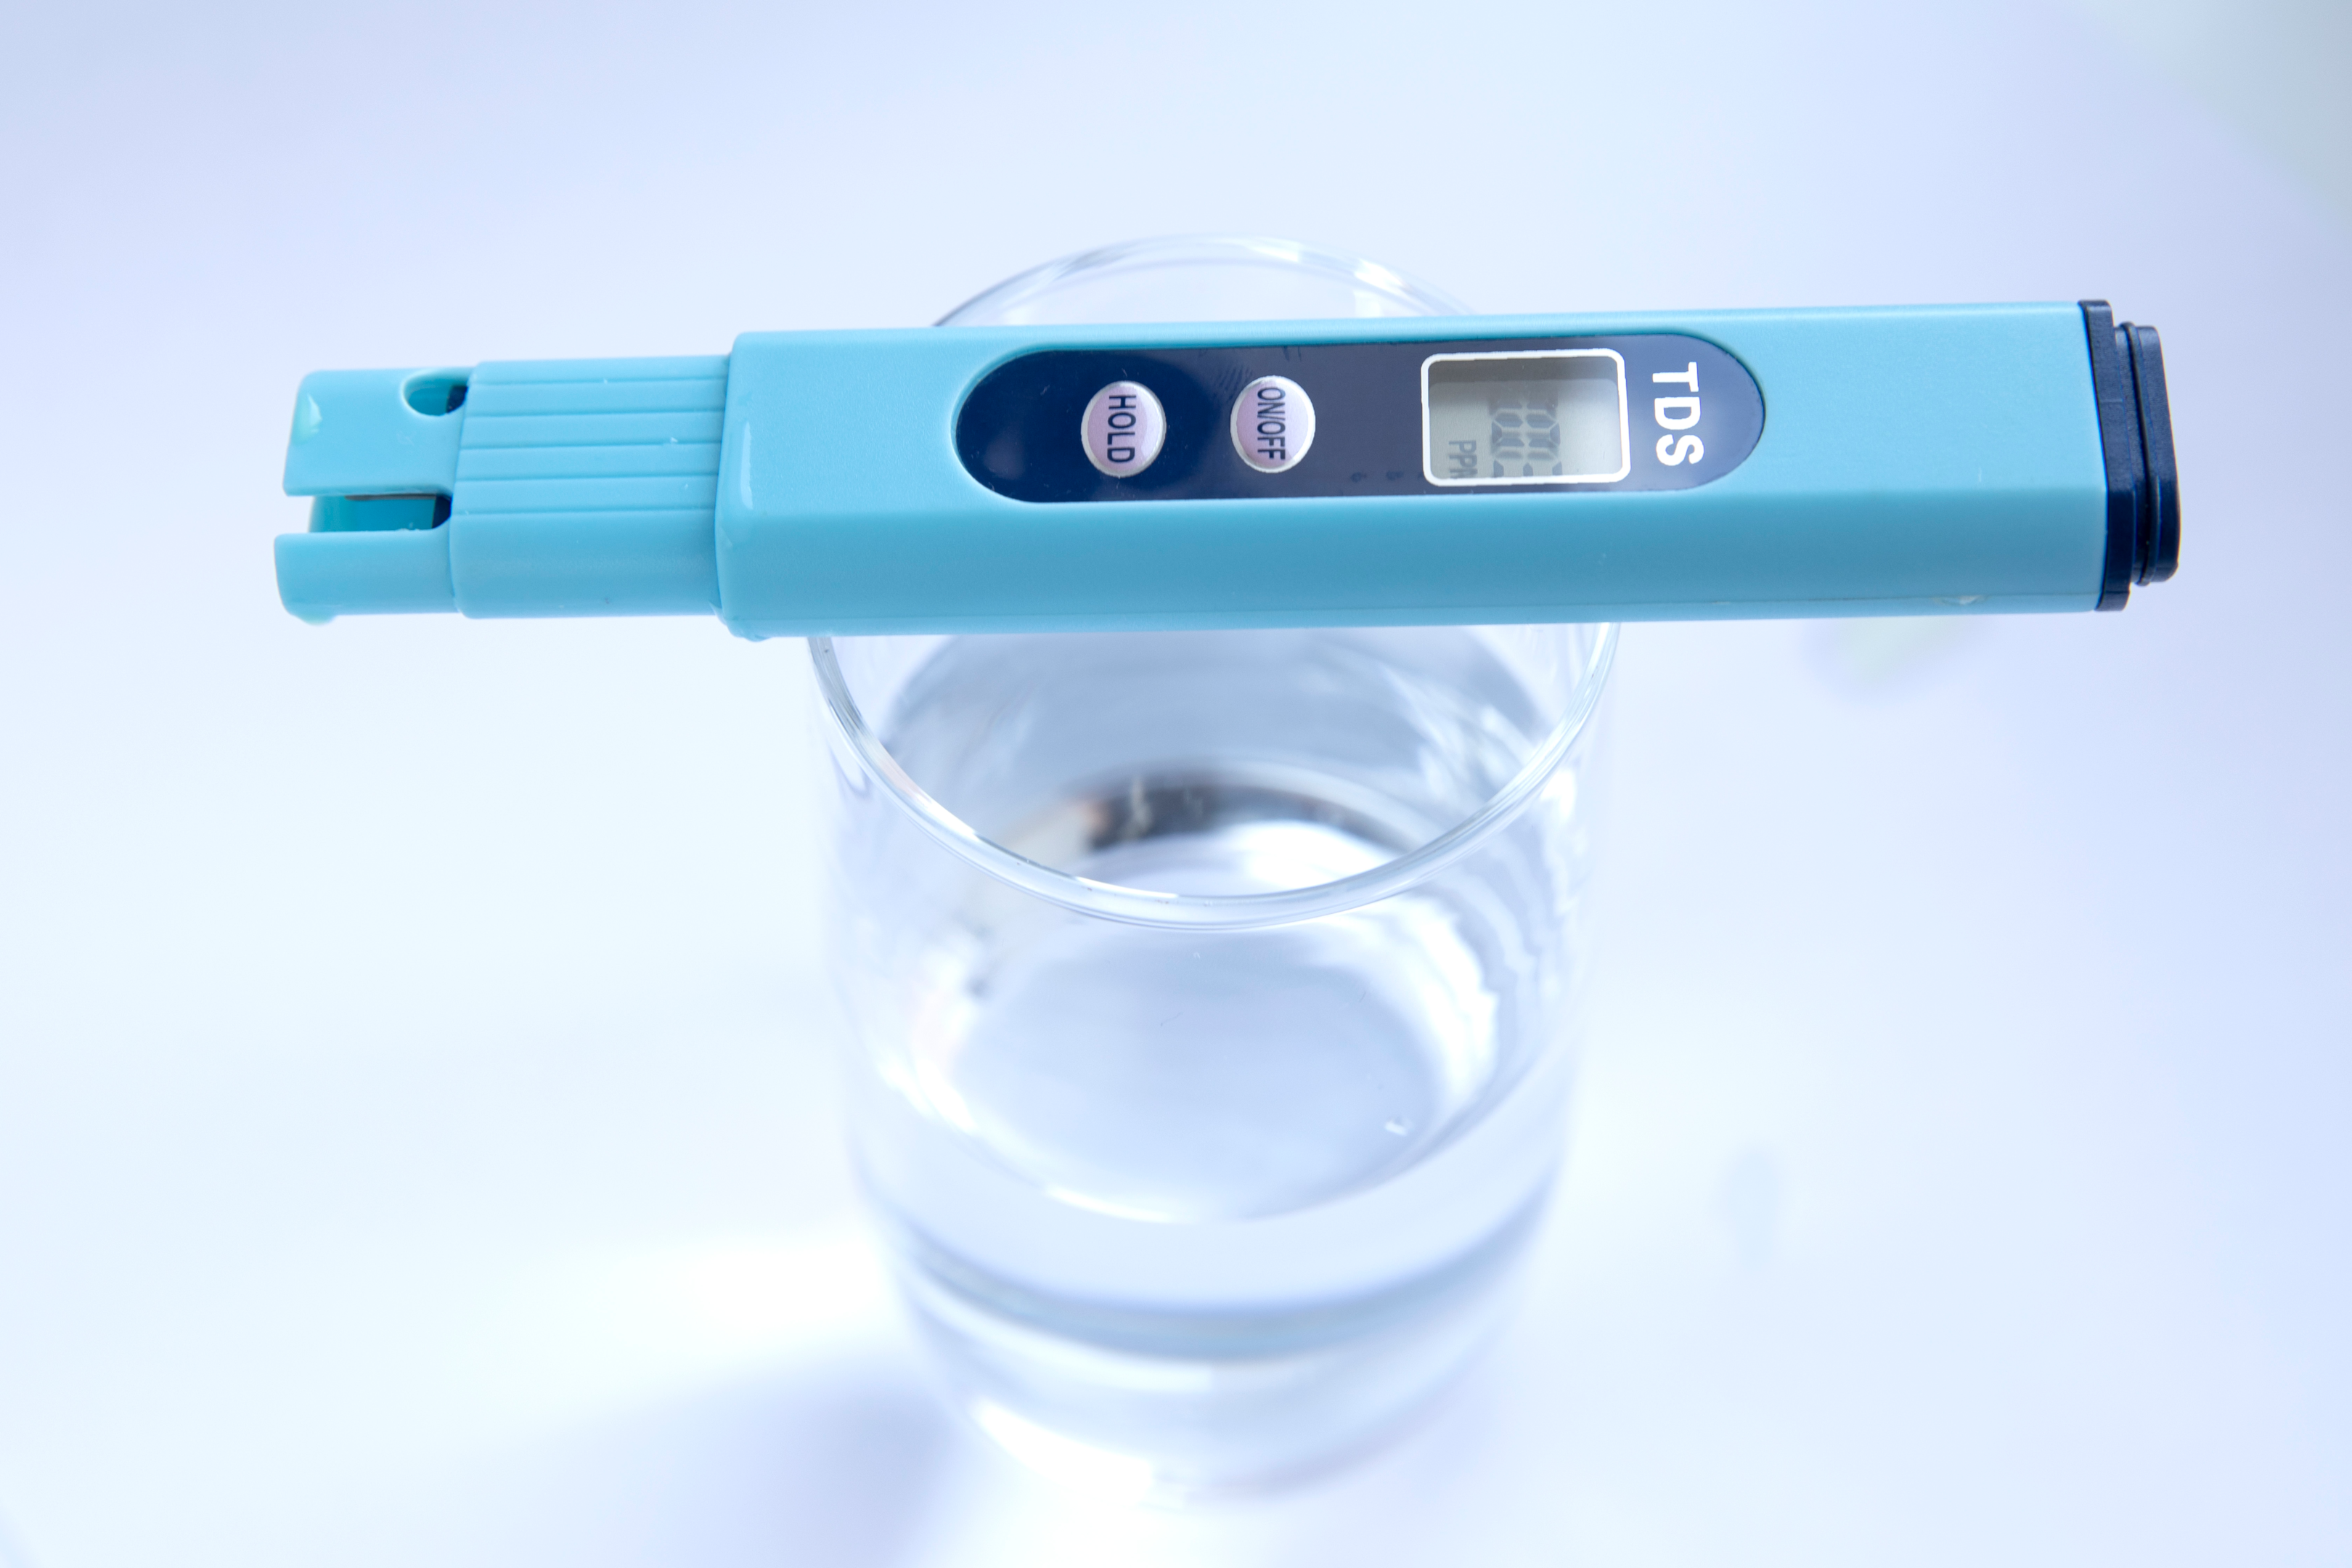
You can discern your water’s hardness levels and the need for a water softener by using a DIY test kit or seeking a free test from local water treatment companies. By analyzing the milligrams per liter (mg/L) of dissolved calcium carbonate in your water, you can classify the hardness level. If it exceeds 180 mg/L, the water is considered very hard, and it is necessary to install a water softener system to prevent mineral buildup in pipes.
Keep in mind that local household water treatment companies often offer free water tests at your home and might recommend the brand of softener they carry if the test results show hard water.
Types of Water Softener Systems
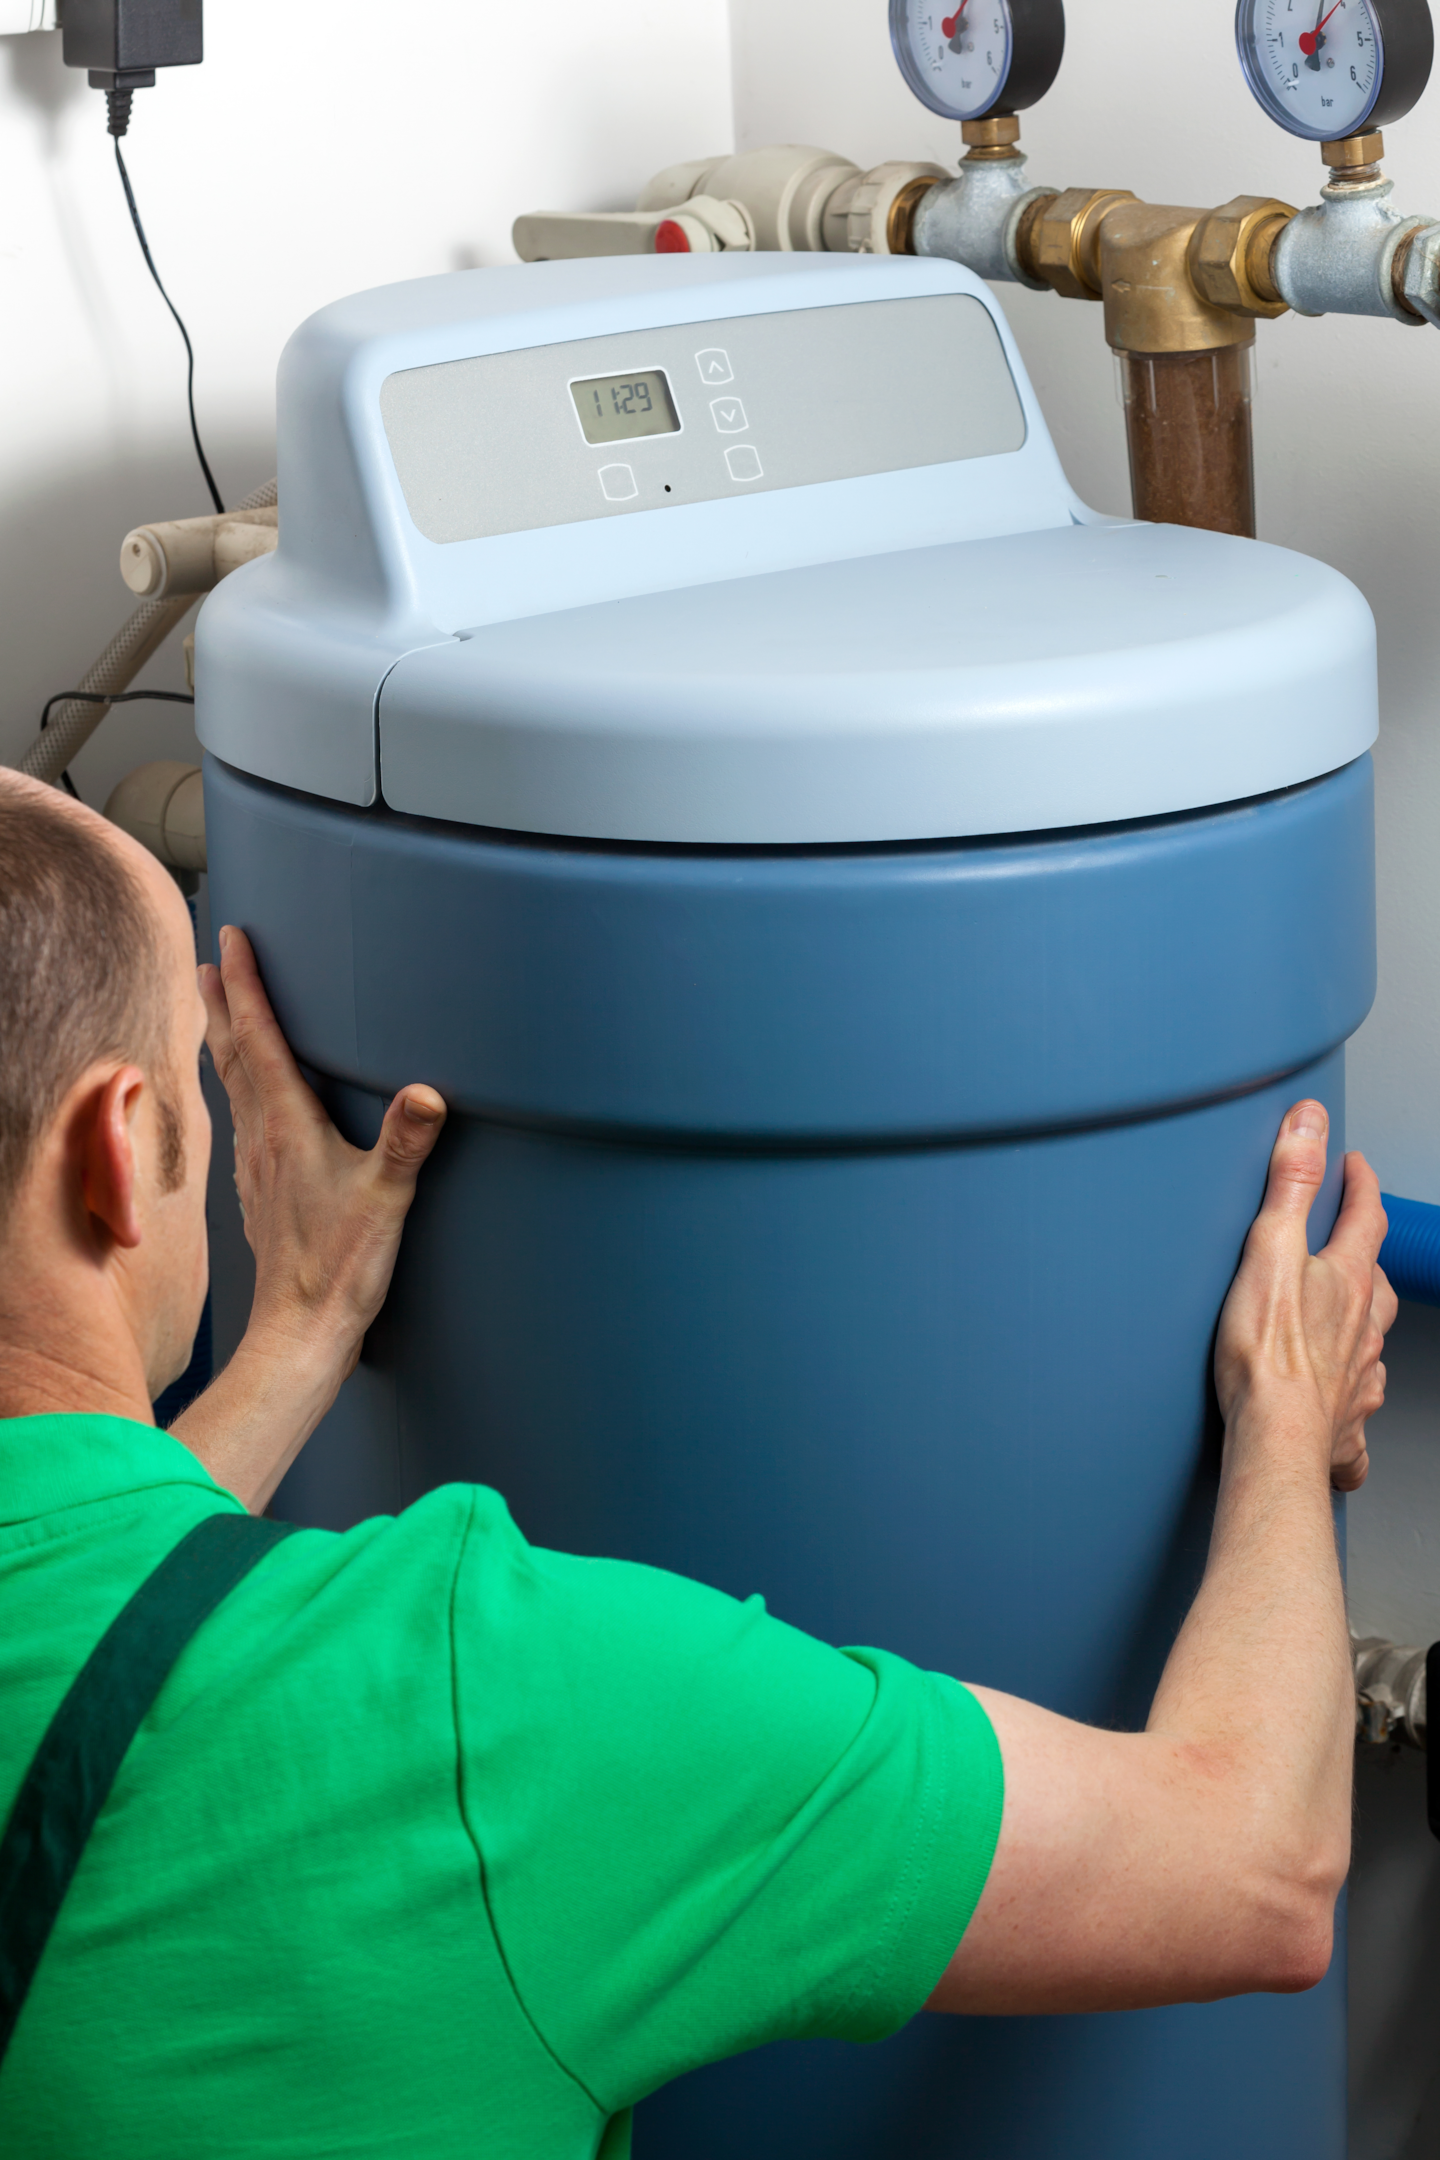
Consideration of both water usage and water hardness is vital when selecting a water softener system. There are different types of water softener systems available, each with varying effectiveness and costs.
Let’s explore these systems to help you make an informed decision.
Ion Exchange Systems
Ion exchange systems are considered true “water softeners”. They use salt brine to remove hard minerals from water through a process involving negatively charged resin beads that attract positively charged minerals, exchanging them with “softer” positively charged sodium or potassium chloride.
To ensure the proper functioning of an ion exchange system, it is necessary to replenish the salt tank regularly. Keep in mind that while this type of system effectively softens water, it may add minimal amounts of salts to the drinking water, which could be a concern for individuals on a low-sodium diet.
Salt-Free Systems
Salt-free systems, unlike ion exchange systems, do not remove hardness from water but instead condition the water to prevent mineral buildup. These systems are suitable for individuals on low-sodium diets or those who prefer not to use salt in their water treatment process.
The cost of salt-free water softener systems ranges from $500 to $4,000. Keep in mind that while these systems can help minimize scale buildup, they may not provide the same level of softening as ion exchange systems.
Reverse Osmosis Systems
Reverse osmosis systems, while not true water softeners, are effective in removing a large majority of impurities from tap water. These systems are typically point-of-use filtration systems, filtering only the water coming through a specific faucet.
Although they can provide improved water quality, reverse osmosis systems may not be the most cost-effective solution for softening all the water coming into your home due to the filtration rate and cost of filtering large amounts of water. The cost of a whole home reverse osmosis system typically ranges from $1,500 to $1,800, including the unit and installation.
Magnetic Systems
Magnetic systems are a newer technology that uses electromagnets clamped around water pipes to inhibit the minerals in the water from creating scale. The effectiveness of magnetic systems at “softening” water is still questionable, and more research is needed to determine their true potential.
As with any water treatment option, it is essential to weigh the pros and cons before choosing a system that best suits your needs.
Preparing for Water Softener Installation
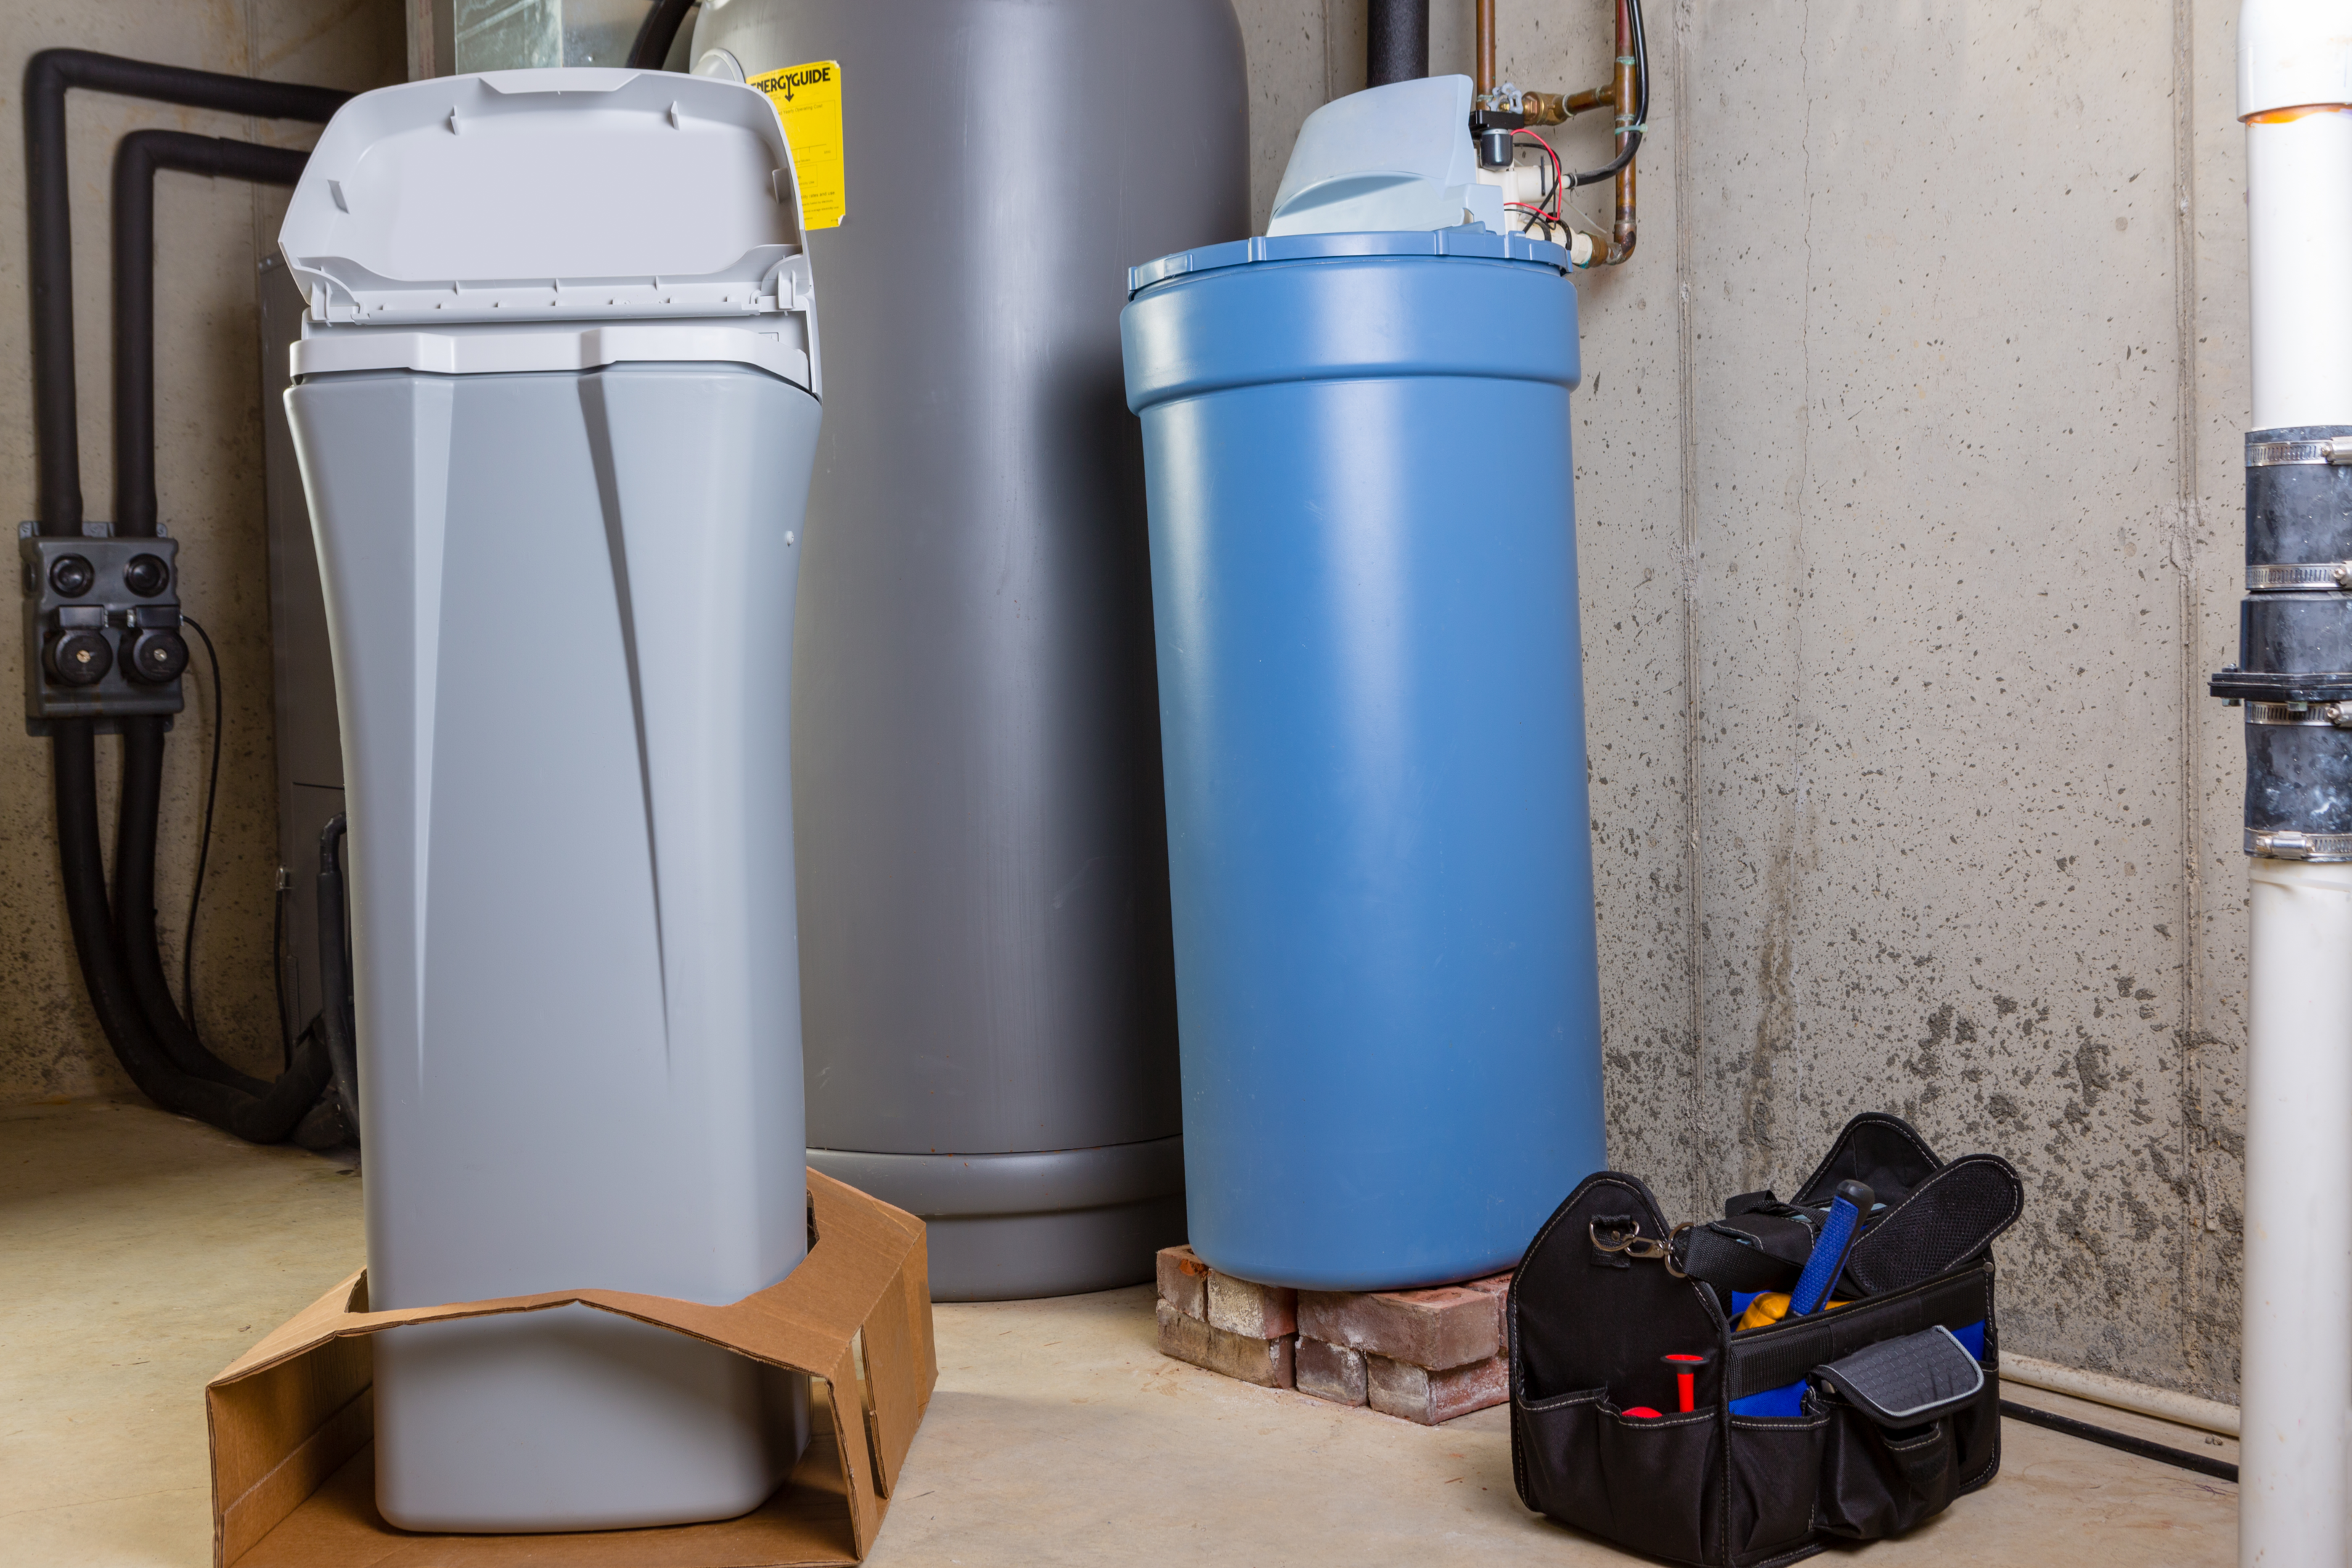
Before proceeding with the water softener system installation, make sure to select an appropriate location and verify that your home’s plumbing and electrical systems can handle the installation. Proper planning will guarantee a successful installation and optimal functioning of the water softener system.
It is important to consider the size of the water softener, the type of water softener installation.
Choosing the Right Location
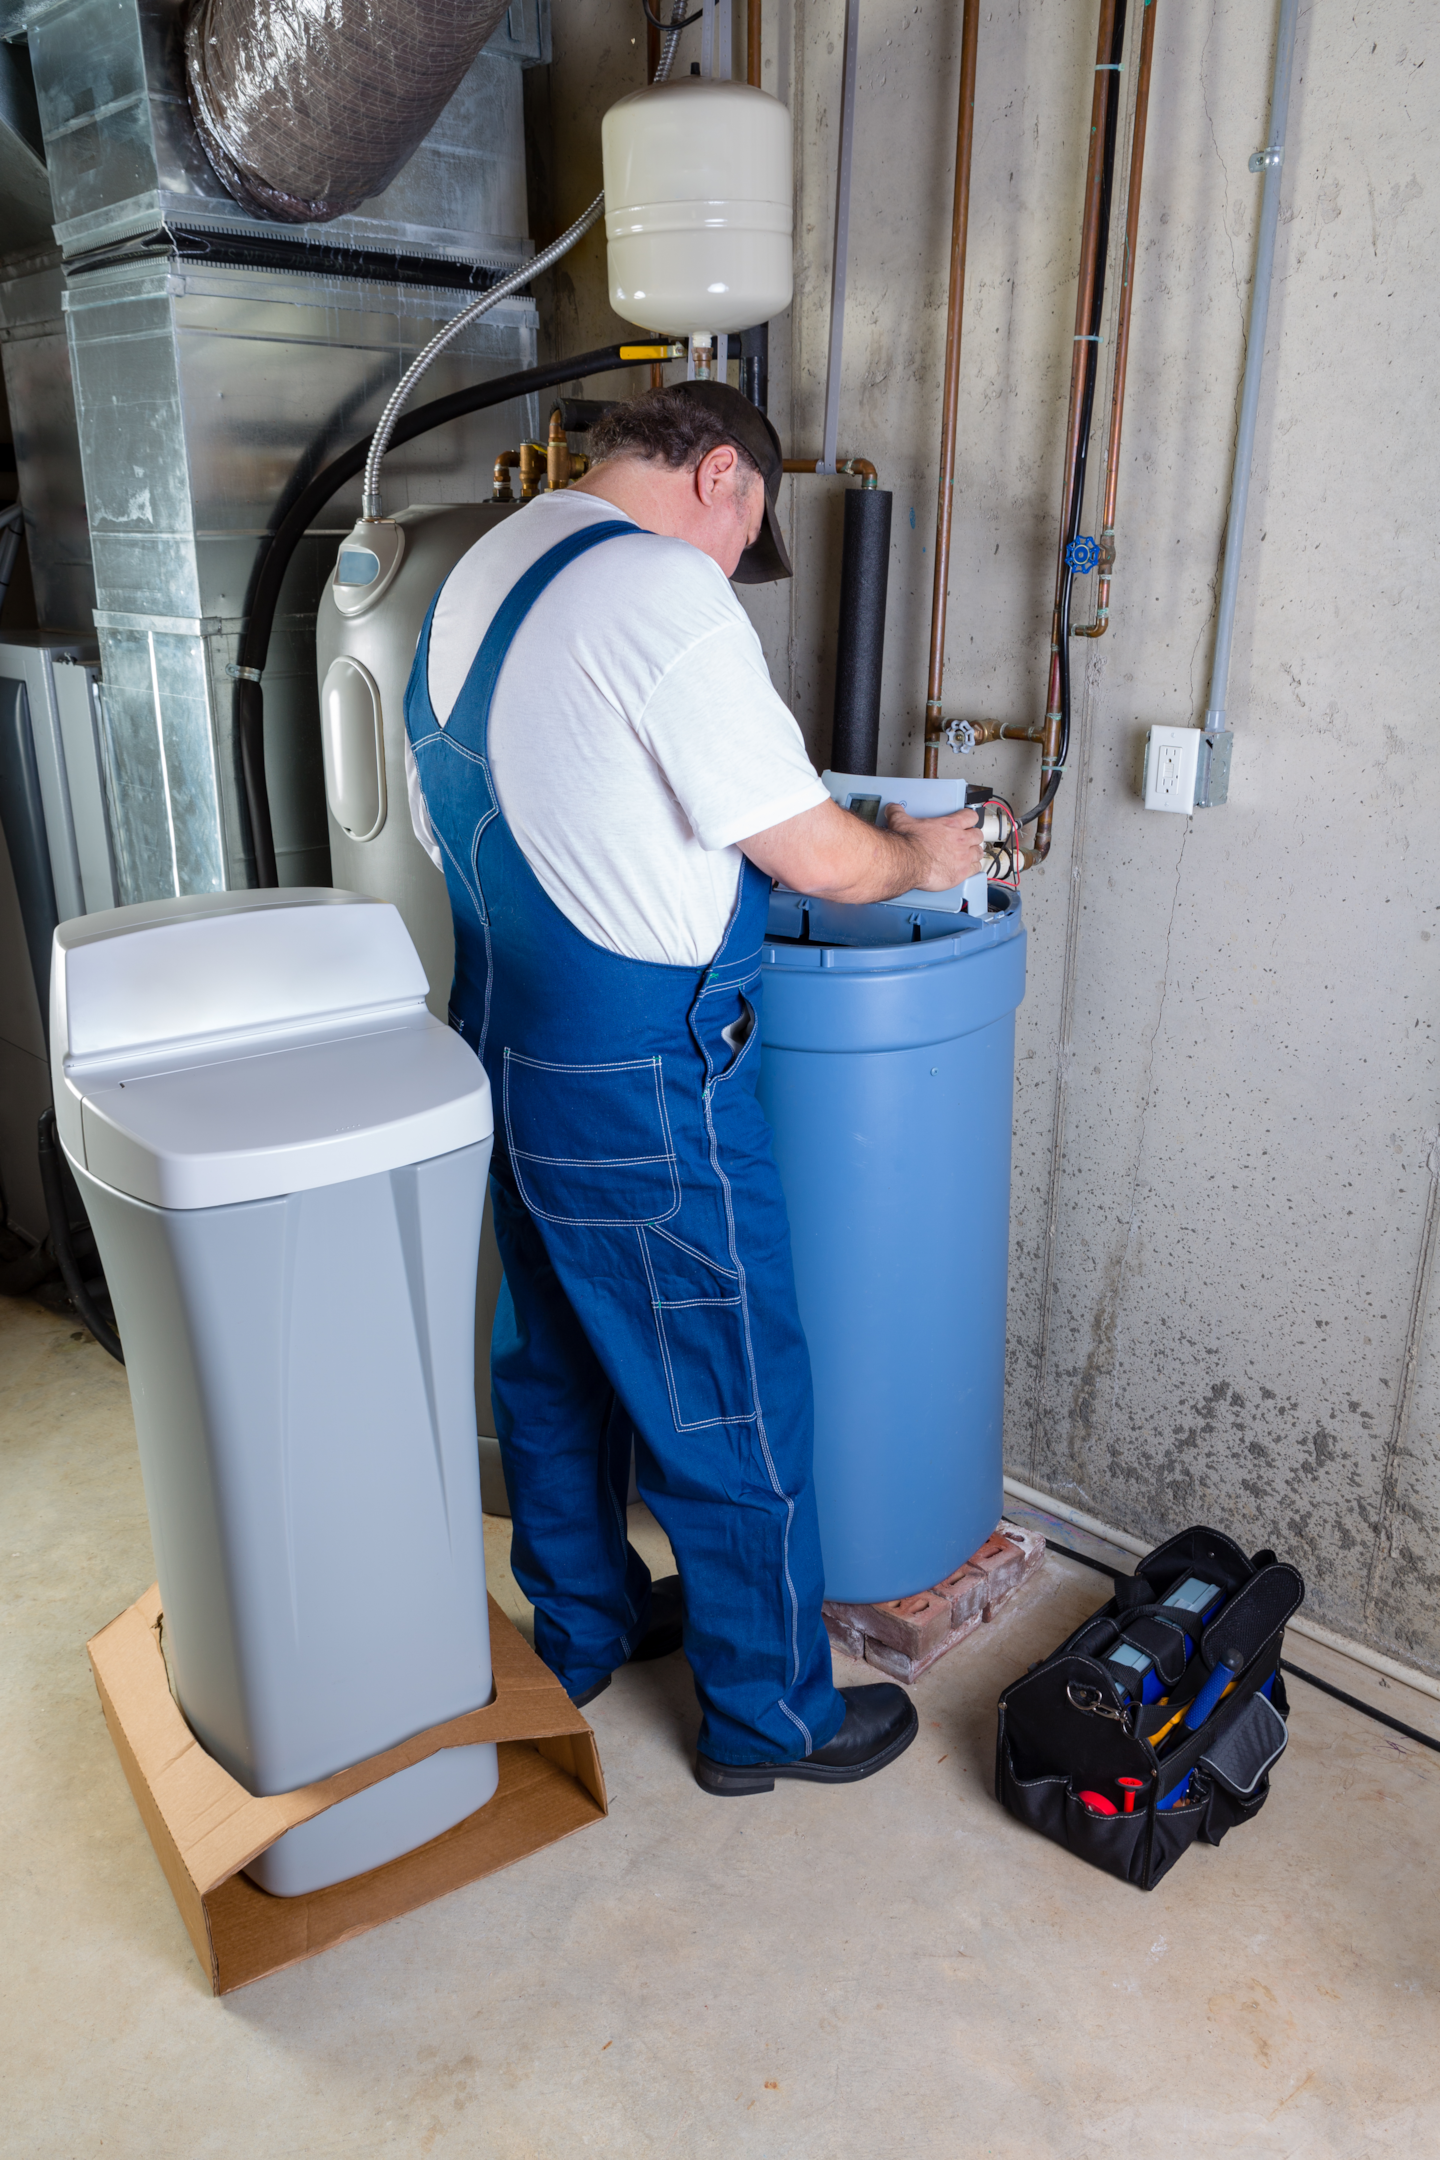
The functionality of your water softener largely depends on choosing an appropriate location. The ideal location should be on a level surface, close to the point of entry of water into the residence, and near a drainage system to dispose of regeneration drainage water.
Keep in mind that the water softener should be installed in such a way that it conditions the indoor potable water supply, but not the pipes leading to outdoor water connections or lawn irrigation systems.
Plumbing and Electrical Requirements
Ensuring your home’s plumbing and electrical systems can handle a water softener installation is of utmost importance. Some water softeners can be compatible with existing plumbing systems, while others may require a new plumbing loop for directing softened water to the necessary indoor areas of the home.
Additionally, water softeners require power for their operation, so it is crucial to have an electrical outlet nearby. Before installation, it is also recommended to check if a permit or inspection is necessary from local authorities for major installations, as a licensed plumber may be required.
Step-by-Step Water Softener Installation Process
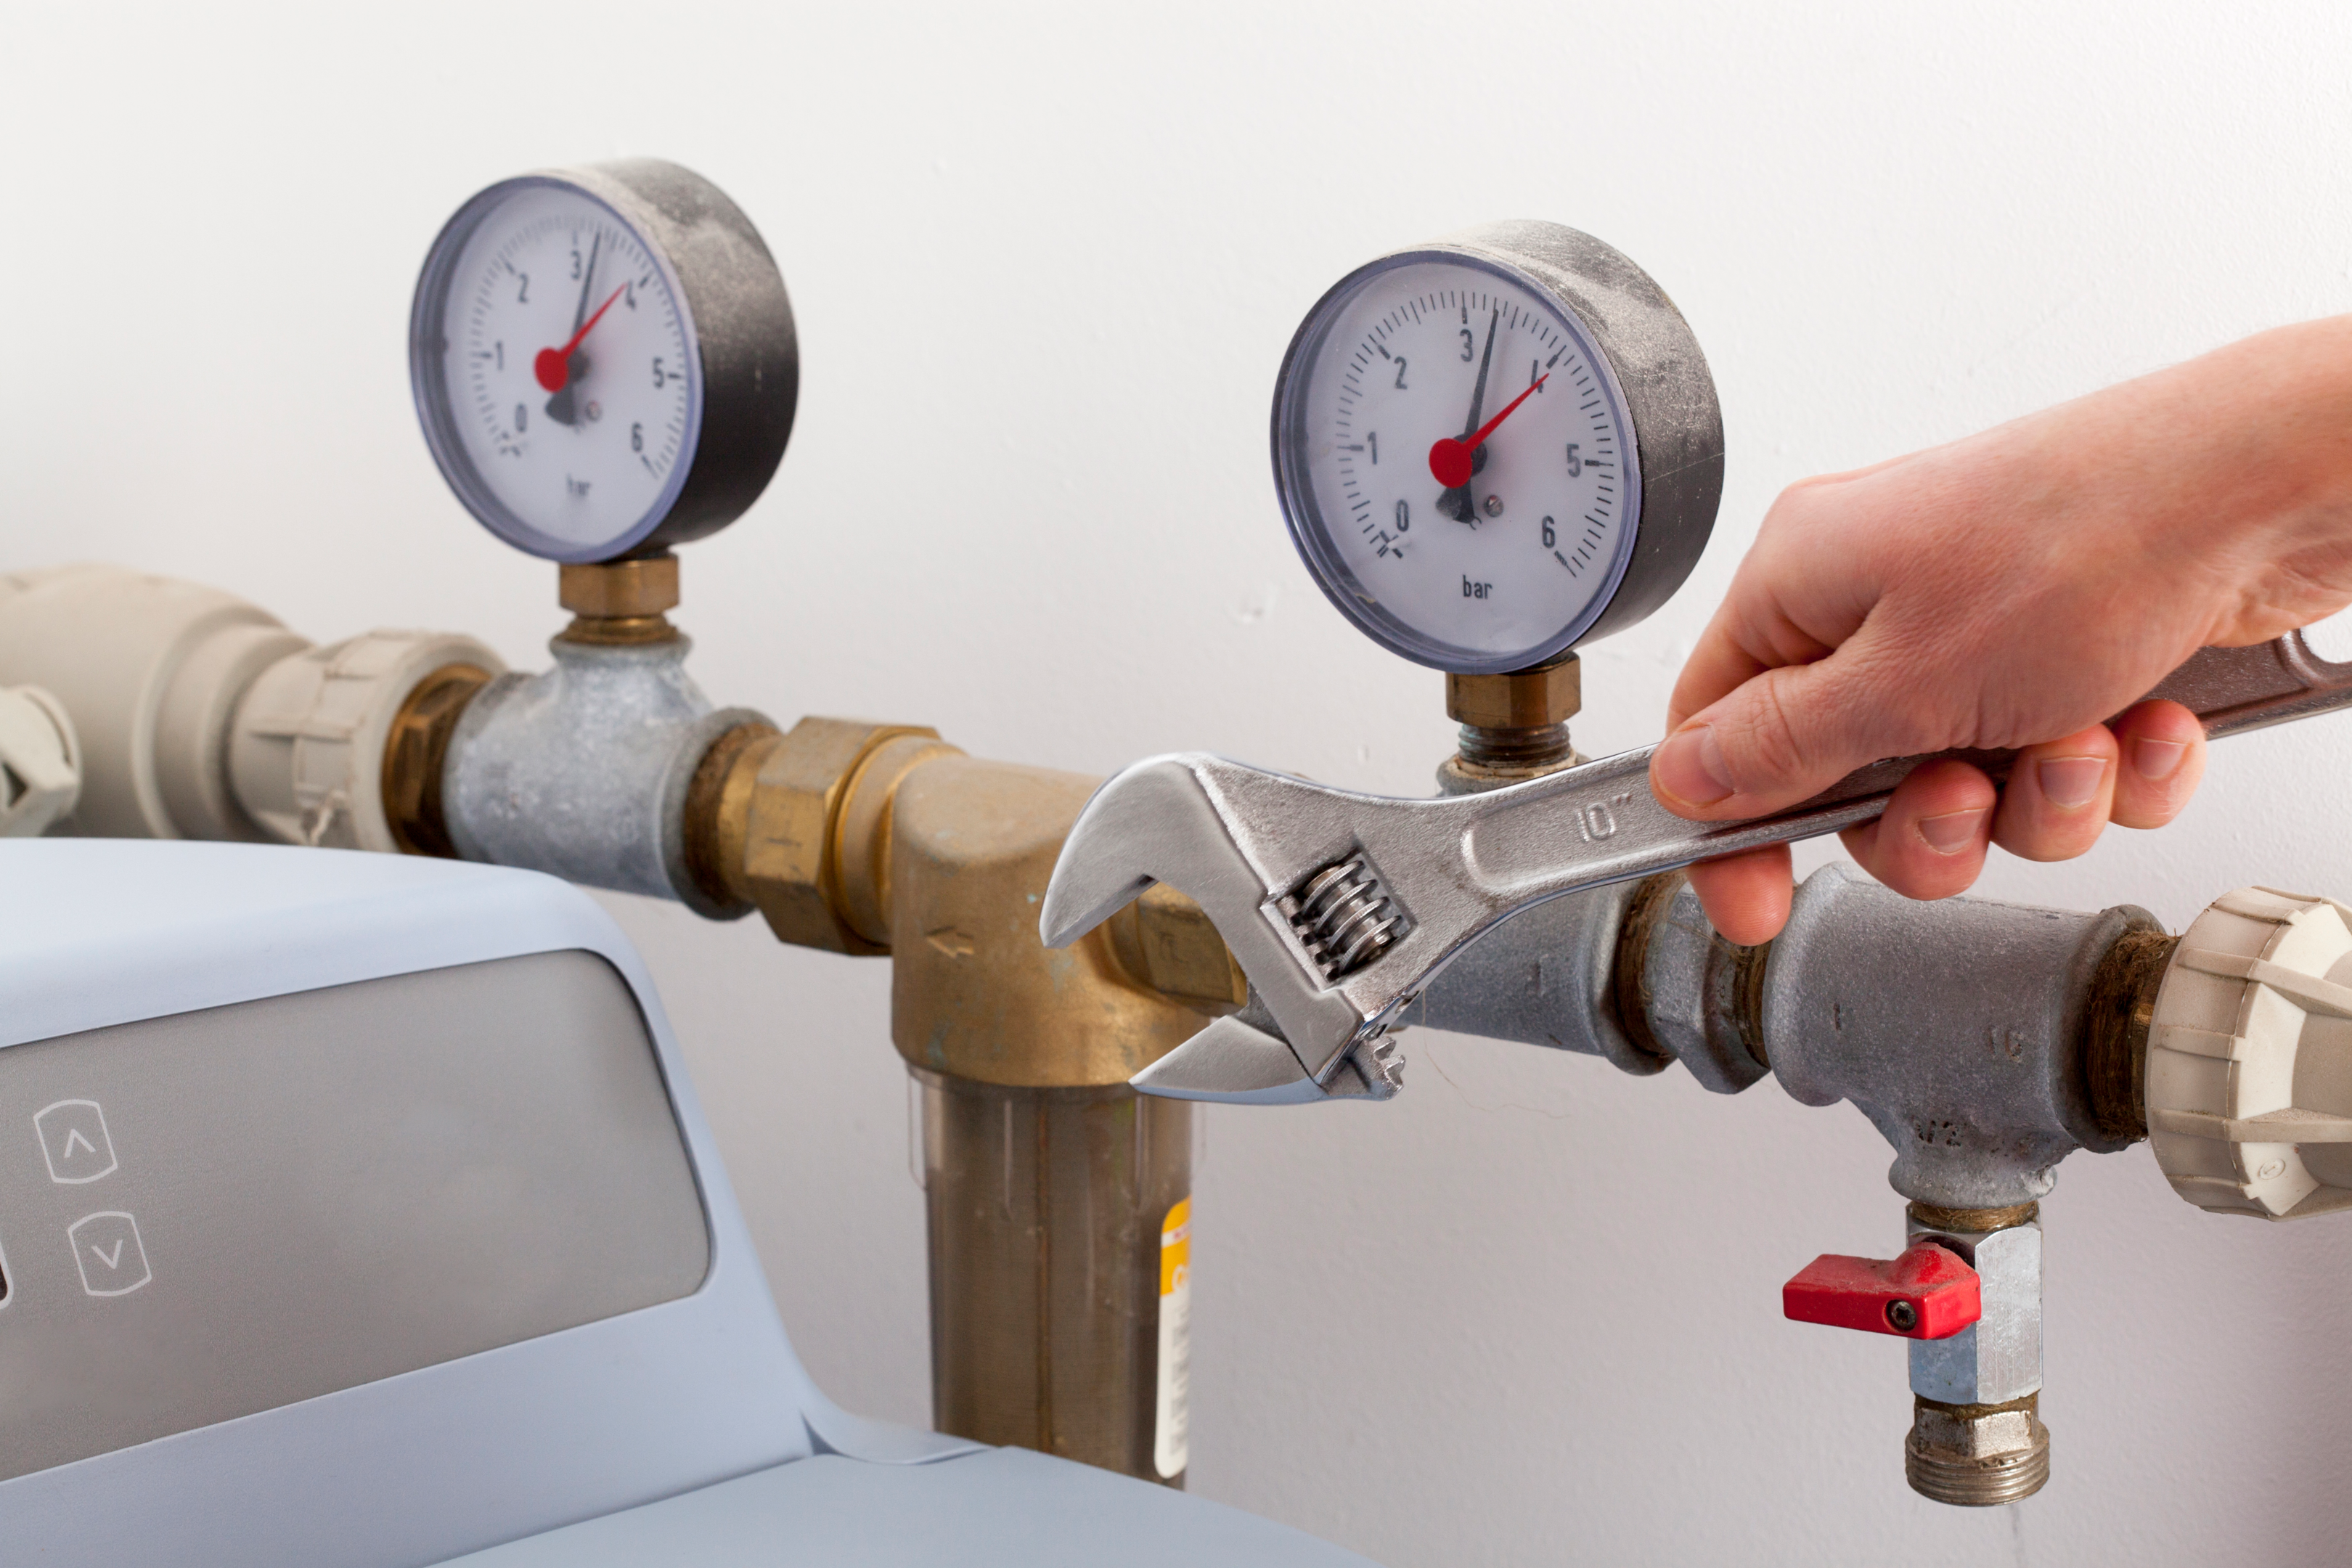
Having selected the appropriate water softener system and location, it’s now time to proceed with the detailed installation process. In this section, we will guide you through the installation of:
- Bypass valve
- Connecting to the water supply
- Setting up the brine tank
- Connecting drain tubes
These steps will ensure a proper installation and optimal functioning of your water softener system, starting with installing a water softener.
Installing the Bypass Valve
A bypass valve is an essential component of the water softener installation, as it allows you to control the flow of water through the softener and shut it off during repairs or temporary shut-off. To install the bypass valve, follow the manufacturer’s instructions and use the appropriate fittings and connections for the specific bypass valve being installed.
Once installed, it is crucial to test the valve for proper functioning by cycling it on and off and inspecting for any potential leaks or irregularities.
Connecting to the Water Supply
Connecting the water softener to the main water supply is a critical step in the installation process. To do this, use the necessary fittings and adapters as per the manufacturer’s instructions for the specific water softener system. Flexible supply tubes are recommended, as they facilitate the removal or bypassing of the system in the future.
Ensure that the supply-side pipe is connected to the inlet port on the water softener. Additionally, the house-side pipe should be connected to the outlet port. Tighten the fittings using an adjustable wrench. Alternatively, channel-lock pliers can also be used.
Setting up the Brine Tank
The brine tank is a crucial component of the water softener system, as it contains the salt or potassium used to regenerate the resin beads. Fill the brine tank with the amount of water and salt as recommended by the manufacturer. This should be either sodium or potassium chloride..
Then, connect the mineral tank to the brine tank using the tubing and clamps provided with the water softener.
Connecting Drain Tubes
Most water softeners require two drain tubes: one connected to the control valve for discharging backwash water during the regeneration cycle, and another connected to the brine tank as an overflow drain. Connect the drain tubes to an appropriate drain location, ensuring they are cut to the correct length and secured using a pipe snap coupler and clamps or straps.
The drain line should contain an air gap fitting. This fitting helps to prevent back-siphoning of potentially contaminated drain water into the water softener.
Post-Installation Maintenance and Care
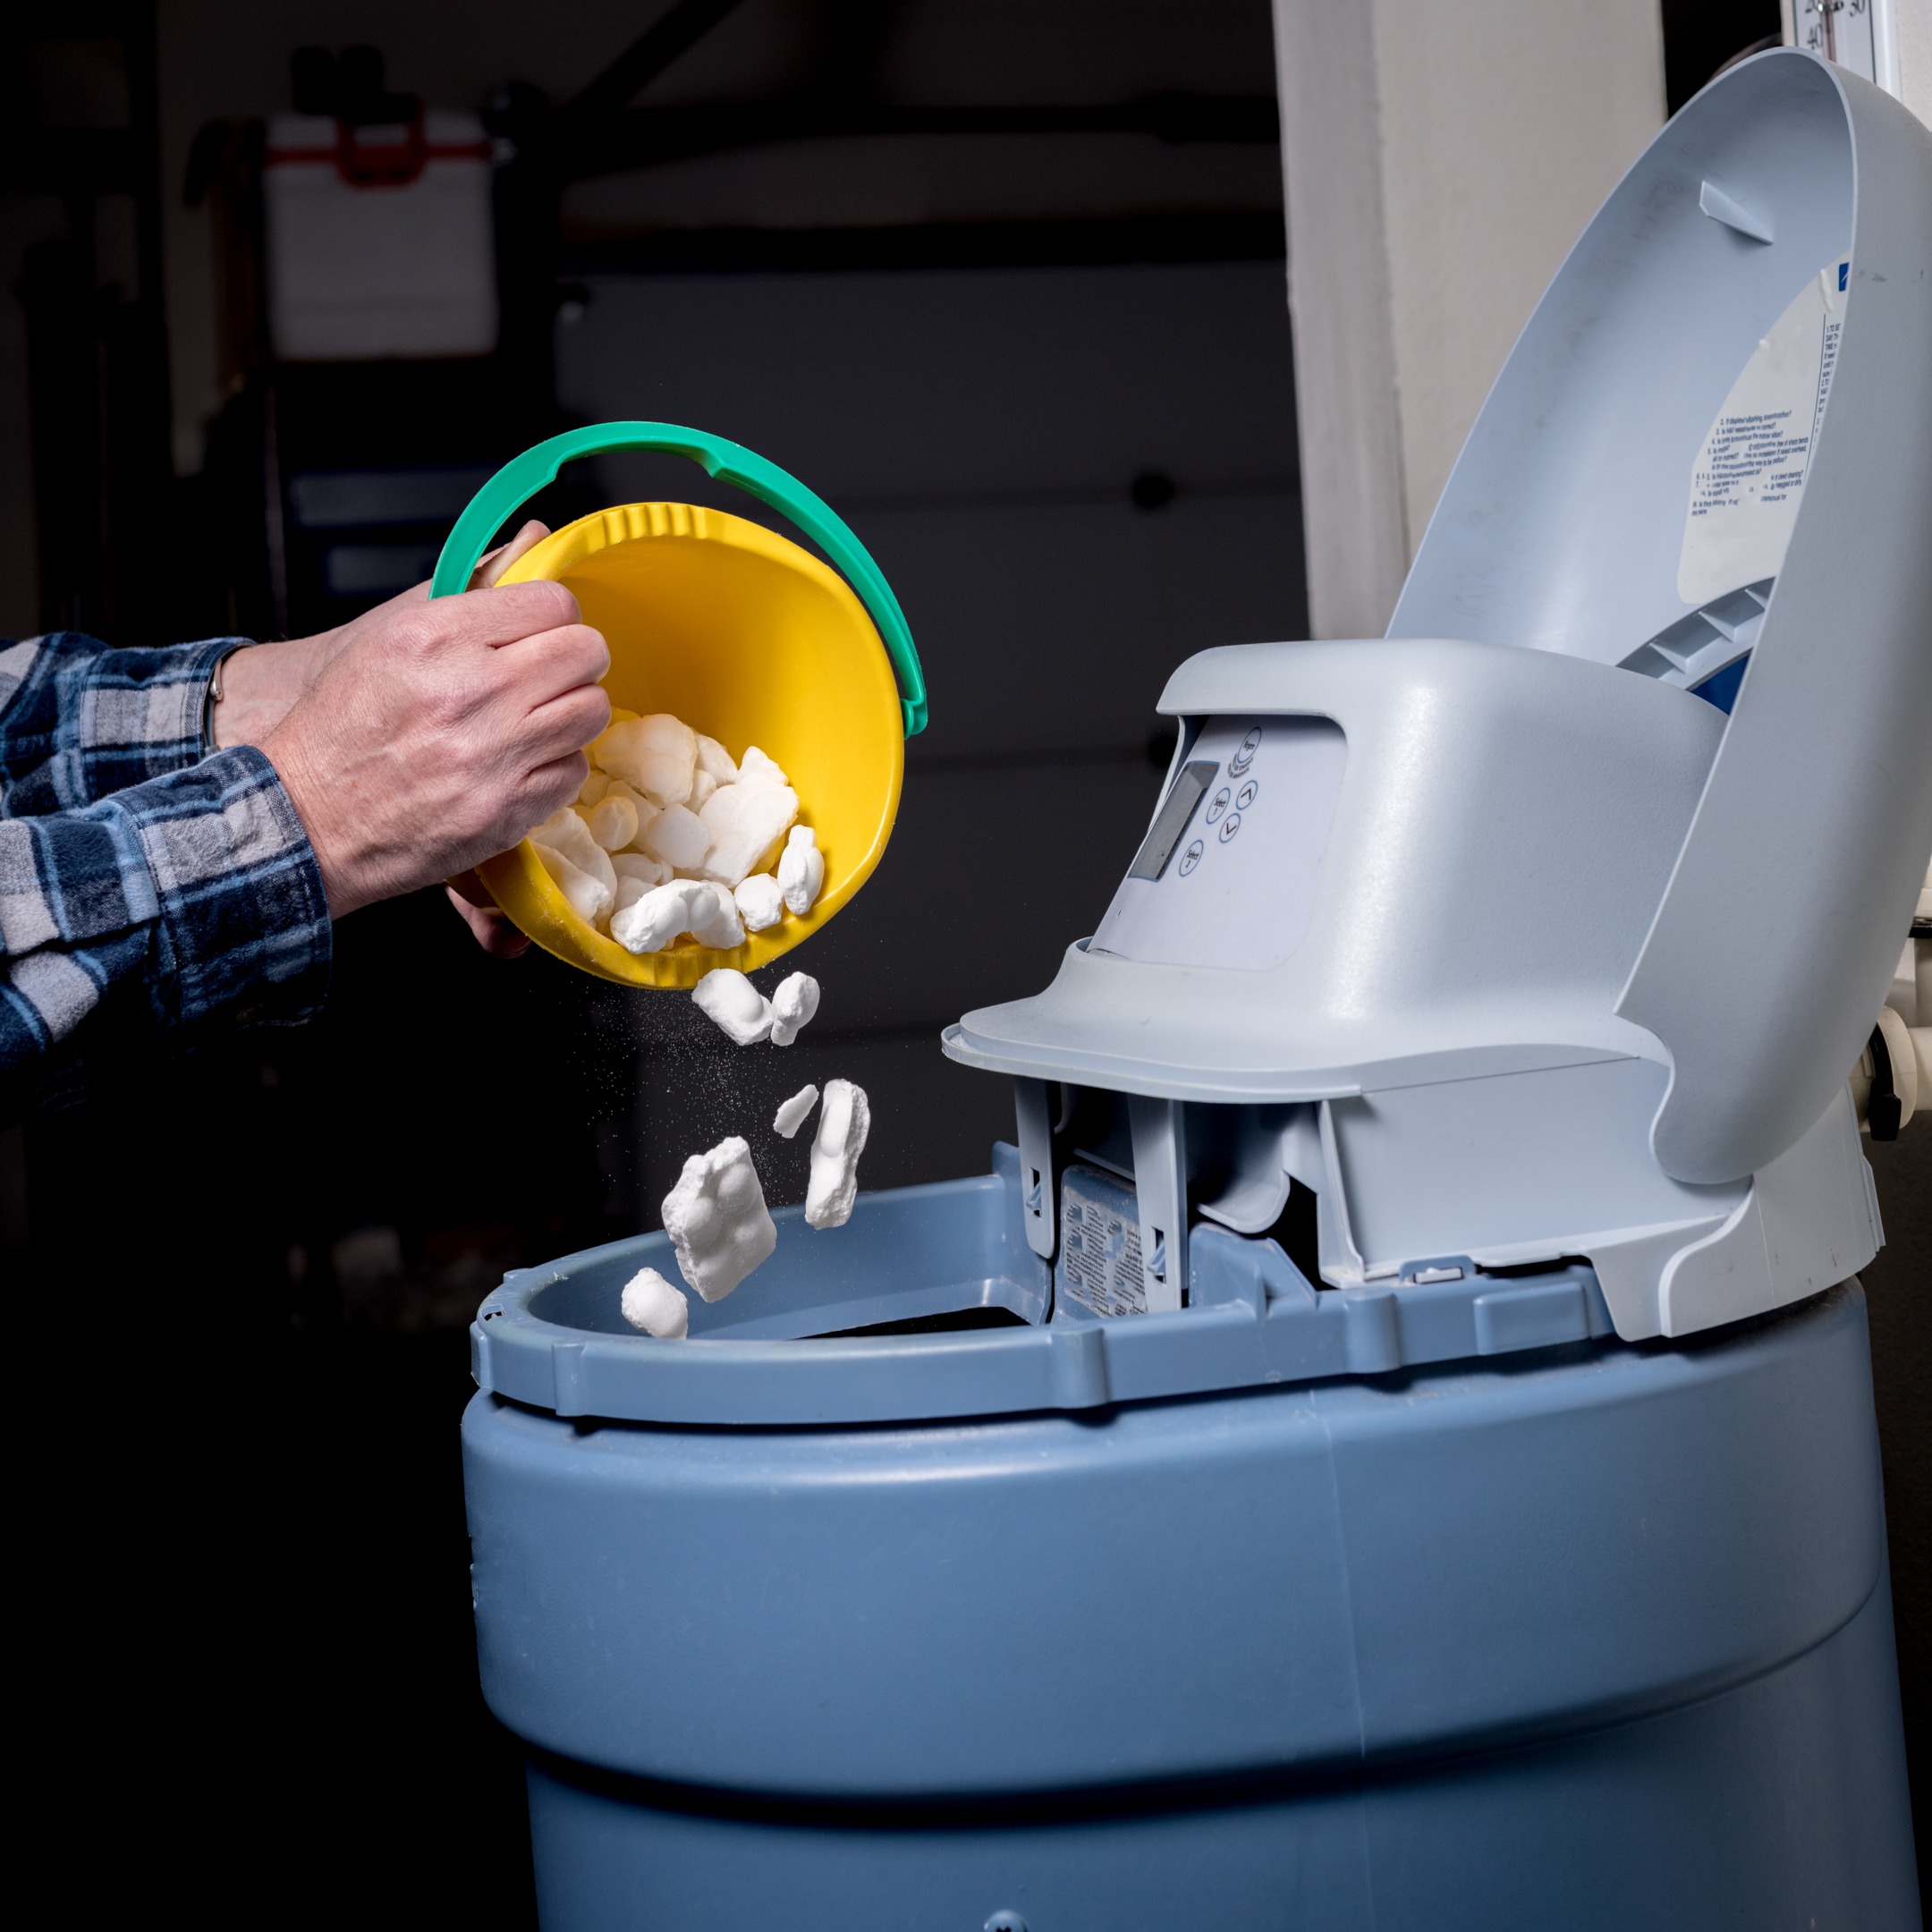
After installing your water softener, maintaining and caring for the system is crucial for its optimal performance and extended lifespan.
Regular cleaning, maintenance, and refilling of salt or potassium are crucial to keeping your water softener functioning efficiently.
Regular Cleaning and Maintenance
To guarantee optimal functioning and extended service life of your water softener, regular cleaning and maintenance are necessary. This process involves cleaning the brine tank, checking the salt level, and inspecting the system for any indications of damage or wear.
It is recommended to perform this cleaning and maintenance process at least annually to ensure the continued efficiency of your water softener system.
Salt and Potassium Refills
Refilling salt or potassium in the brine tank is a vital part of water softener maintenance, as it is used to regenerate the resin beads and enable the system to remove hard minerals from the water. The frequency of refilling salt and potassium depends on your water usage and system requirements, but it is typically advised to replenish the brine tank every 3-6 months.
To refill, turn off the power to the water softener, open the brine tank, and add the necessary amount of salt or potassium before turning the power back on.
DIY vs. Professional Installation
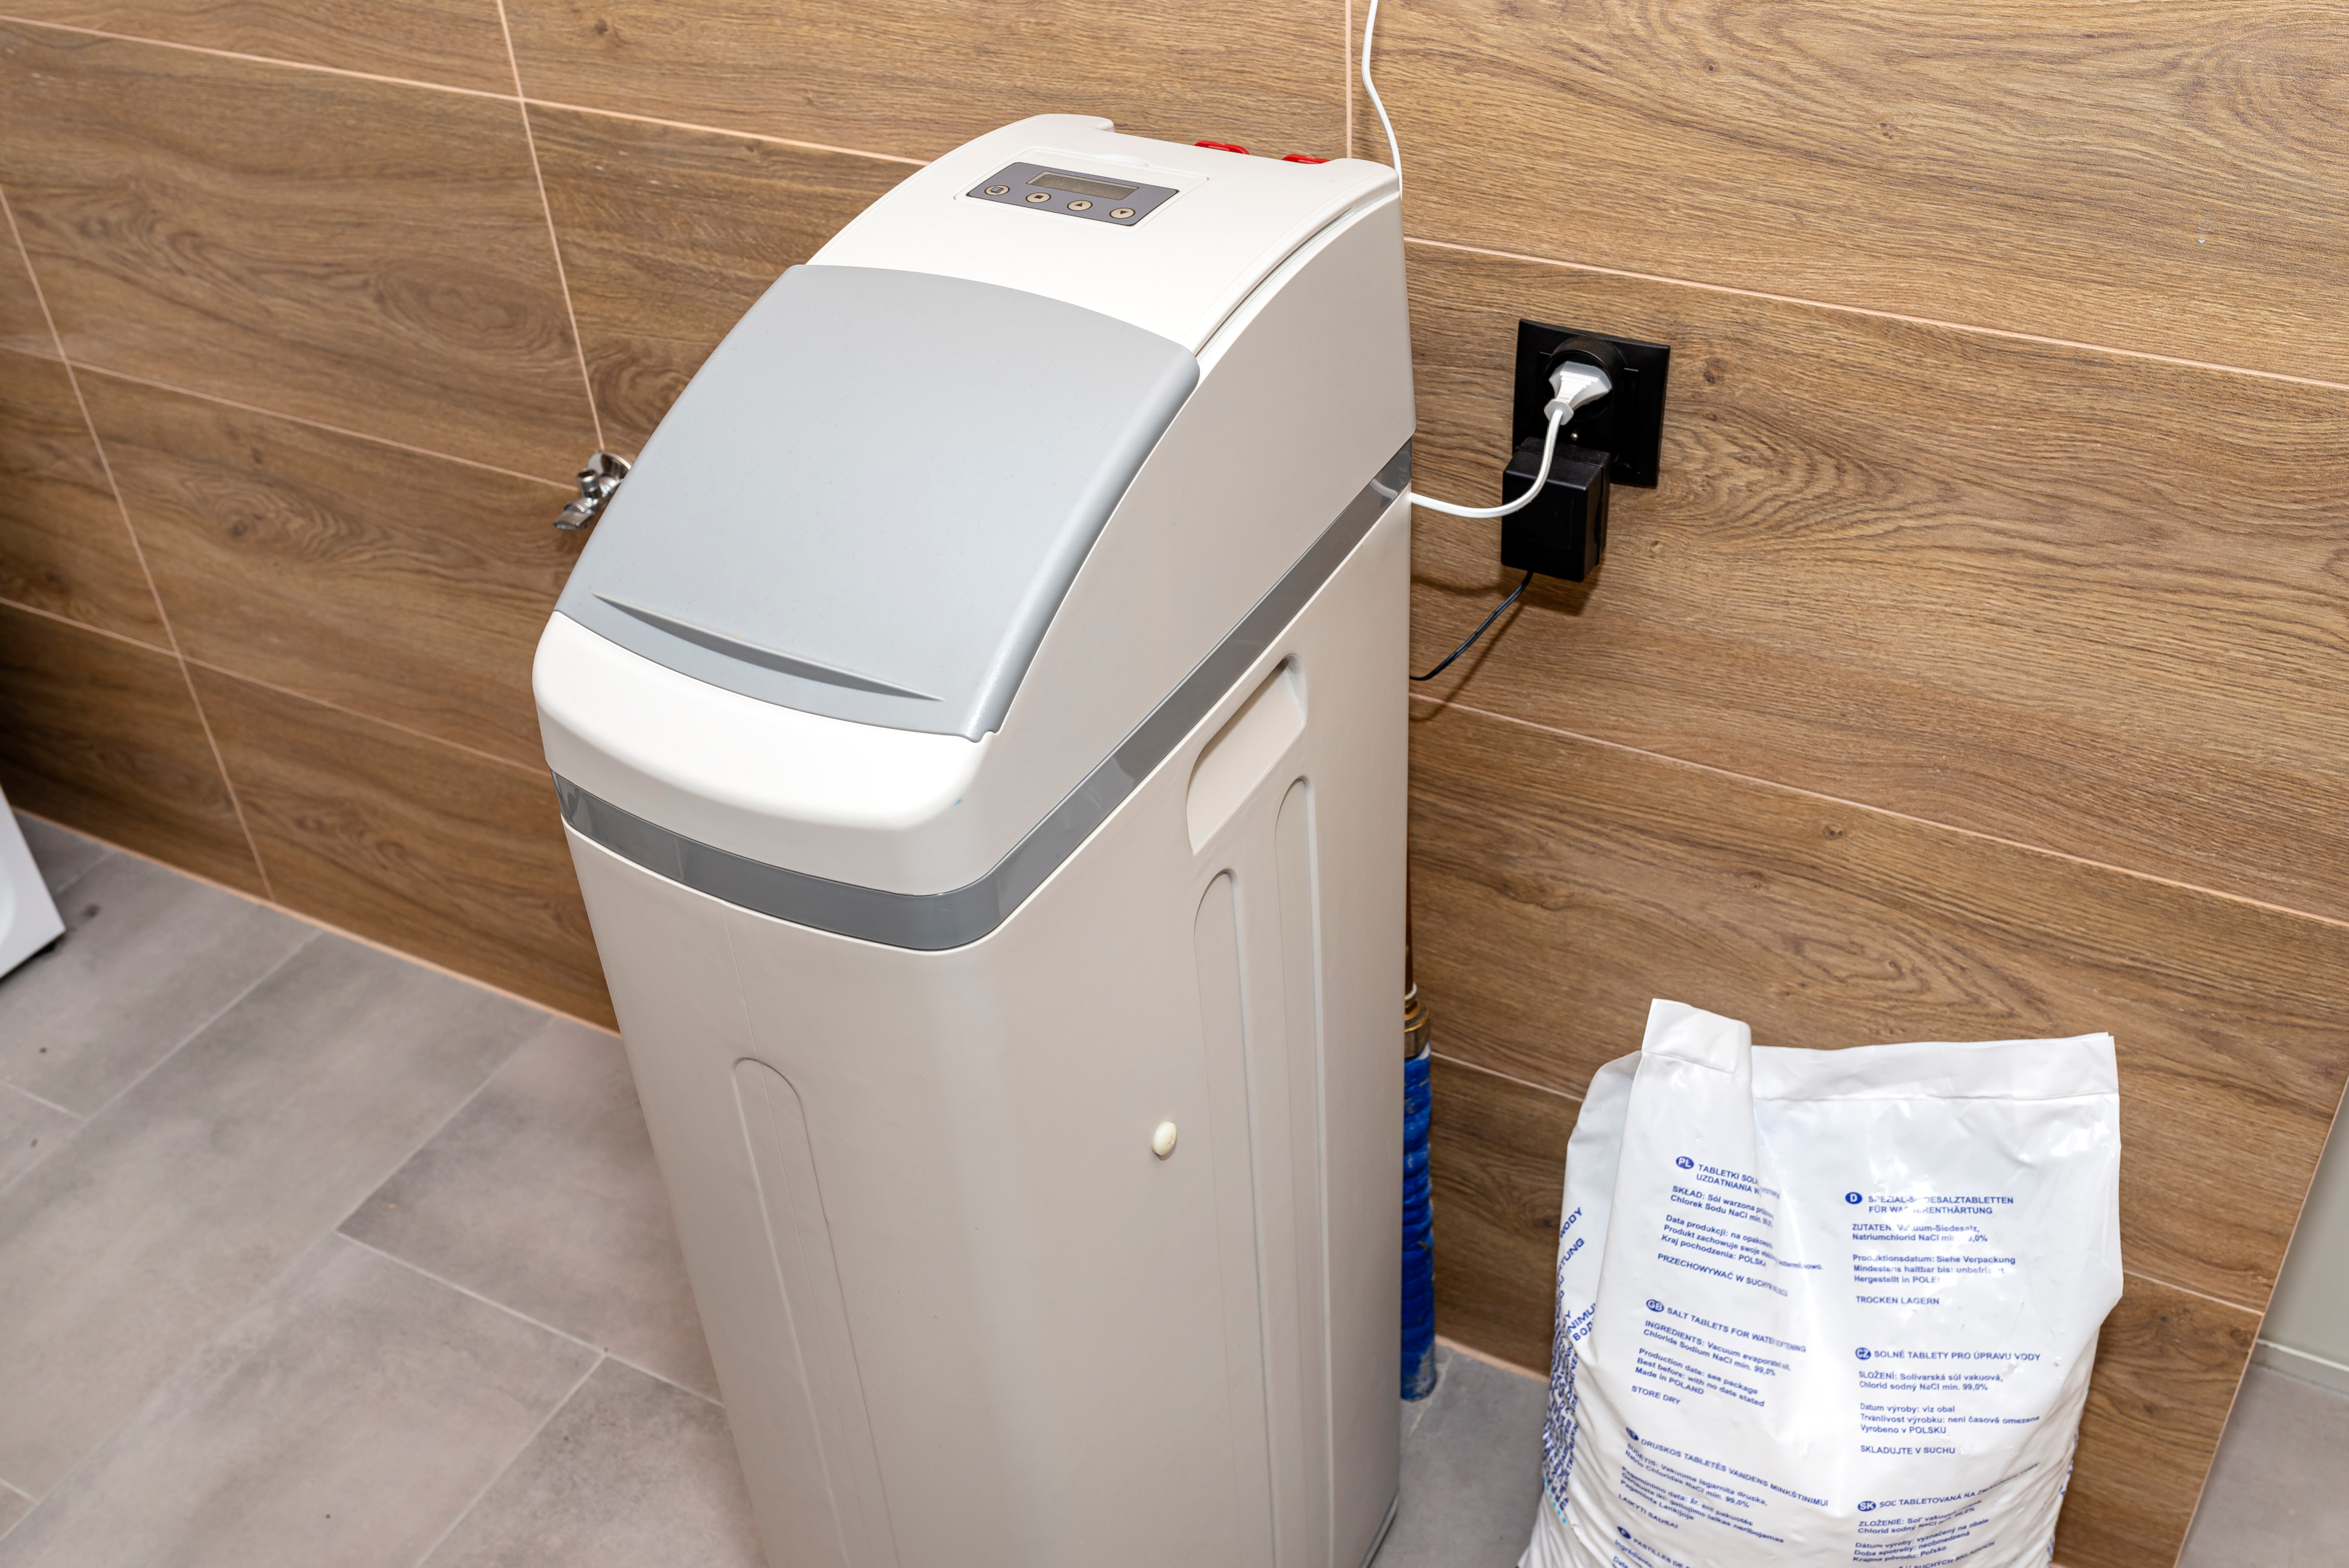
Choosing between a DIY or professional installation for your water softener can pose a tough decision. While DIY installation can save you money and provide a sense of accomplishment, it requires plumbing knowledge and tools.
On the other hand, professional installation ensures a high-quality softener, proper installation, factory warranties, and dealership guarantees.
Benefits of DIY Installation
DIY installation of a water softener can be cost-effective and rewarding, as it allows you to save money on labor costs and take pride in a job well done. However, it requires plumbing expertise and the appropriate tools to perform the installation correctly. Having a water softener installed by a professional is also an option to consider.
If you’re confident in your plumbing skills and have the necessary tools, DIY installation can be a viable option. Just be aware of the potential risks and challenges associated with working on your home’s plumbing system.
Reasons to Hire a Professional
If you’re not comfortable with DIY installation or if you’re looking to install a whole house system, such as ion exchange systems or reverse osmosis systems, hiring a professional is the best choice. Professional installation ensures:
- A high-grade softener
- Accurate installation
- Manufacturer warranties
- Dealer guarantees
Experts can provide plumbing systems and pipe solutions that are tailored to achieving a successful soft water journey. They can also offer professional guidance and advice throughout the process. In the end, the peace of mind and assurance of a properly functioning system may be worth the additional cost.
Saving Money on Water Softener Installation
Numerous strategies exist for saving money on water softener installation. Some options include:
- DIY installation if you have the necessary plumbing knowledge and tools
- Shopping around for the best prices on water softeners
- Comparing installation costs from different providers
By utilizing these strategies, you can save money on water softener installation.
Additionally, consider local water treatment stores that include installation in the price of the water softener system. By exploring these options and being proactive in your research, you can find the best solution for your needs and budget.
The Impact of Water Softeners on Home and Health
The installation of a water softener can confer benefits to both your home and health. Softened water can prevent mineral buildup in pipes and appliances, prolonging their lifespan and improving efficiency.
Additionally, soft water can provide the following benefits:
- Relief from dry skin and hair issues
- Improved taste of tap water
- More effective cleaning due to reduced need for soap, detergent, and other cleaning products.
By investing in a water softener, you are not only improving the quality of your water but also enhancing your overall quality of life.
Summary
In conclusion, water softeners are an essential investment for homes affected by hard water. By understanding the need for a water softener, selecting the right system, and properly installing and maintaining it, you can enjoy improved water quality, reduced mineral buildup, and healthier skin and hair. Whether you choose a DIY or professional installation, the benefits of softened water can make a significant difference in your home and overall well-being. It’s time to say goodbye to hard water and embrace the advantages of a water softener system.
Frequently Asked Questions
Can I install water softener myself?
Yes, it is possible to install a water softener yourself if you have moderate plumbing skills or are replacing an old unit. The entire process from shopping to installation is manageable if done with care.
How should a water softener be installed?
Turn off the water supply, drain the faucets, and position the water softener near the main line. Connect the flex lines and hoses to the water supply line, brine tank, mineral tank, and drain tubing, then secure with clamps. Finally, test for leaks.
Are water softeners worth installing?
Installing a water softener can save you money in the long run by reducing wear and tear on your plumbing fixtures and appliances, and providing health benefits such as softer skin and hair. Maintenance of the system is minimal, and the cost to keep it running is on average less than $150 annually. Therefore, it can definitely be worth investing in a water softener.
How much is Labor to install water softener?
The average cost of installation for a water softener system is between $500 and $6,000, with labor costs ranging from $150 to $11,000 depending on the complexity of the job.
